When I built the Mk2 version last December, I took pictures to document the process. This model is now obsolete, but I think the pictures are still interesting, not only because they show how I built it, but also because they make clear some of the reasons why I decided to change the design. Enjoy!
 Battery holder (apologies in advance for the hazy look of the first few pictures)

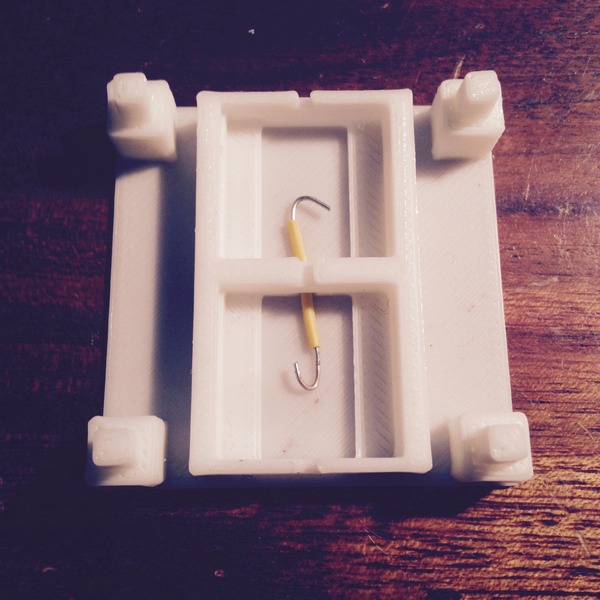
 Battery holder lid, bottom view
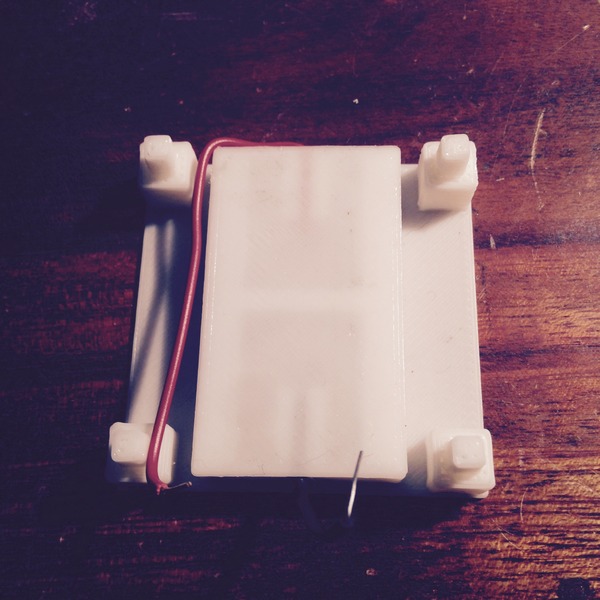 Battery compartment ready
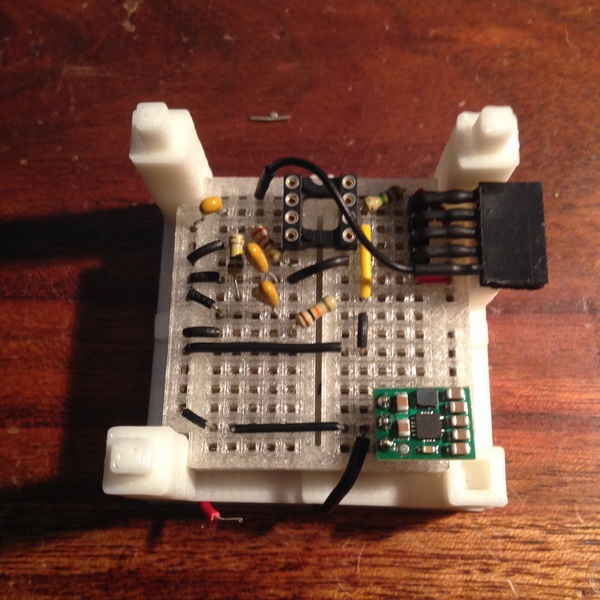
 Breadboard section (fits on top of the battery compartment)
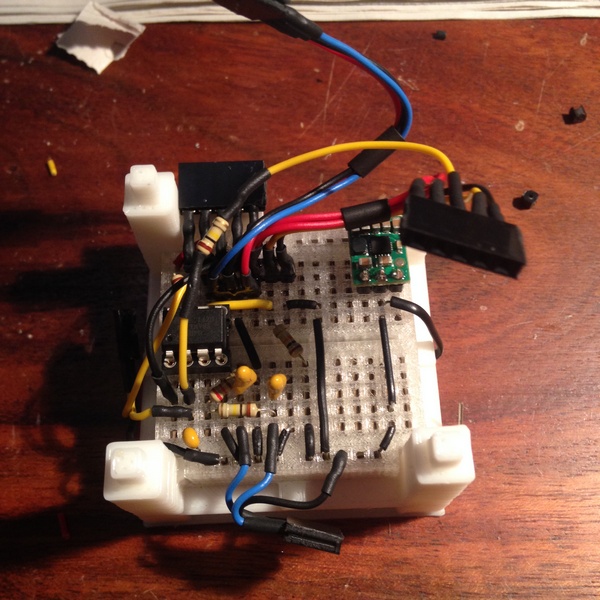
 Breadboard in place
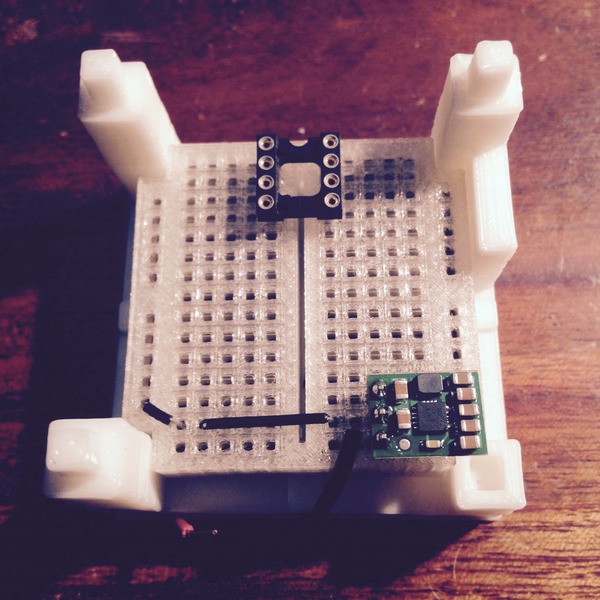 That’s the Pololu Regulator in the lower right corner
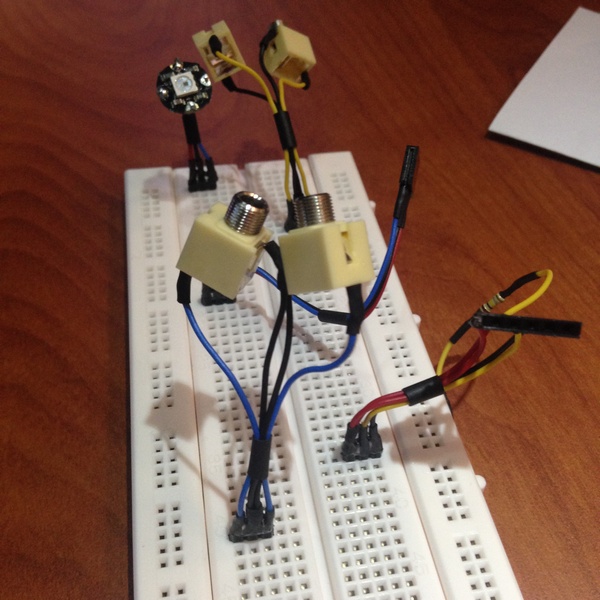
 Potentiometer + On-off switch, and momentary switch
 Same, from above. I grouped all the connections so they could be all plugged and unplugged in one point, not individually on the board
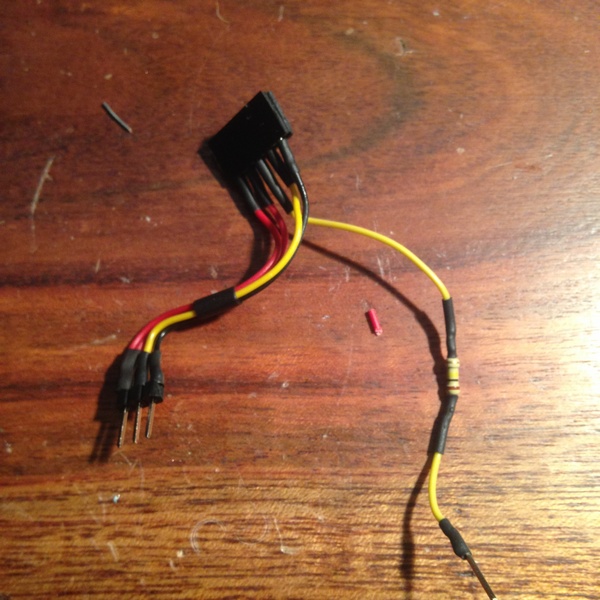 These cables would connect the group above to the board
 All the cables connecting the board to the top. After soldering each group, I add a drop of epoxy at the joint with the pins’ plastic bit; this makes it very resilient to general abuse
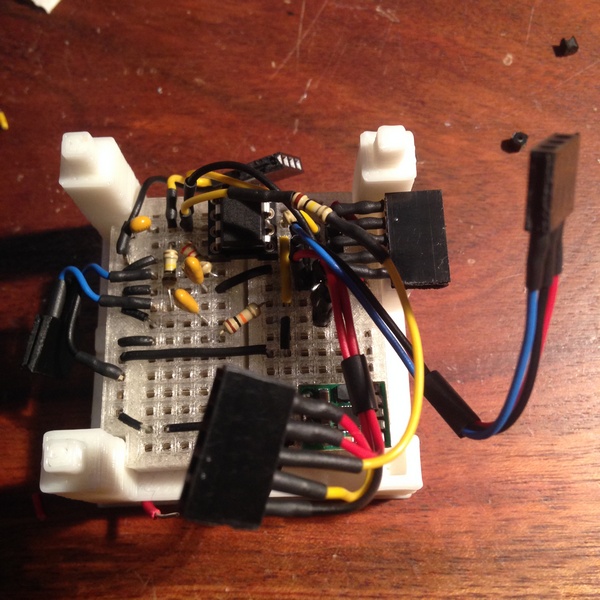 All the various groups plugged to the board
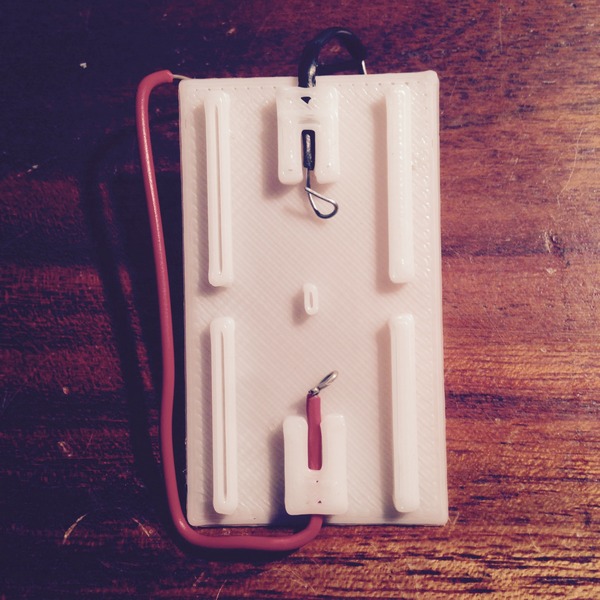
 Bottom view of the lid with all the parts installed
 Lid in place!
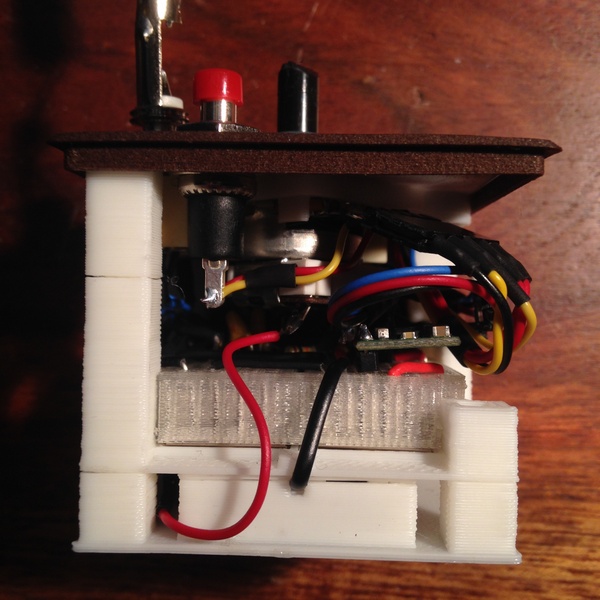 Side views
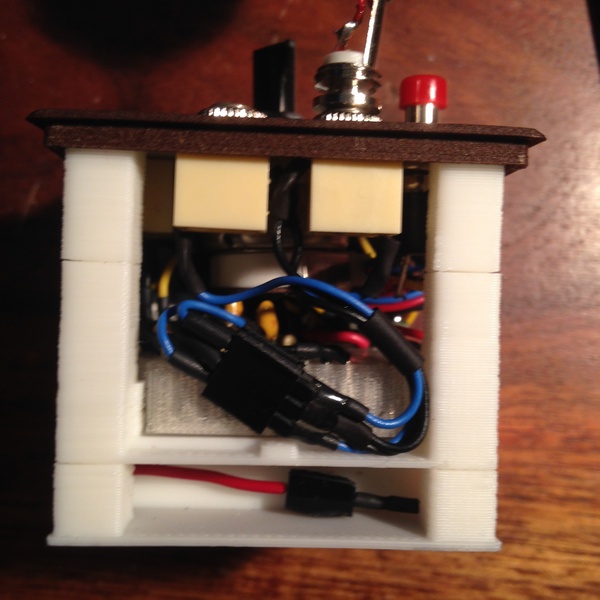 All the relevant connections are grouped and within easy reach, so assembly and disassembly is easy


 Top and first half of the cover
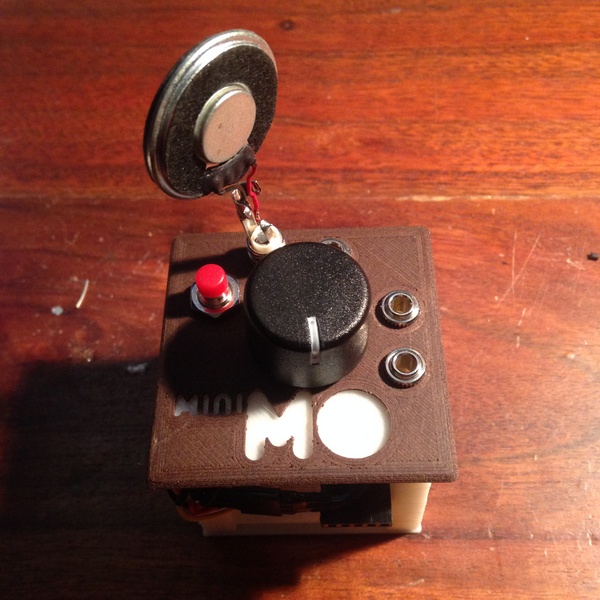
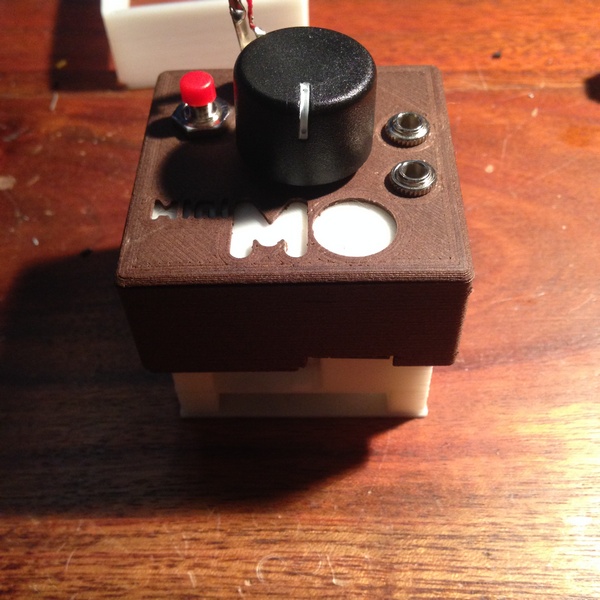
 Fully assembled and operational!
I think it is quite obvious that building the unit is labor intensive. Printing the parts is easy: I used a fine nozzle to print the breadboard (0.25), and the wood-like filament needs a bit of TLC, but there are no supports and it prints mostly on autopilot. The intensive part is preparing the many wires; not that it is difficult, but it takes time. In all, I think with practice I could bring building time to about a day, which is not unreasonable but not ideal either, if I expect to build a system with many modules and would want others to build it, too.
PS. Now that you know how Mk2 was made, you might want to take a look at the Mk3 WIP
Pingback: Breadboard Mk3 WIP – miniMo